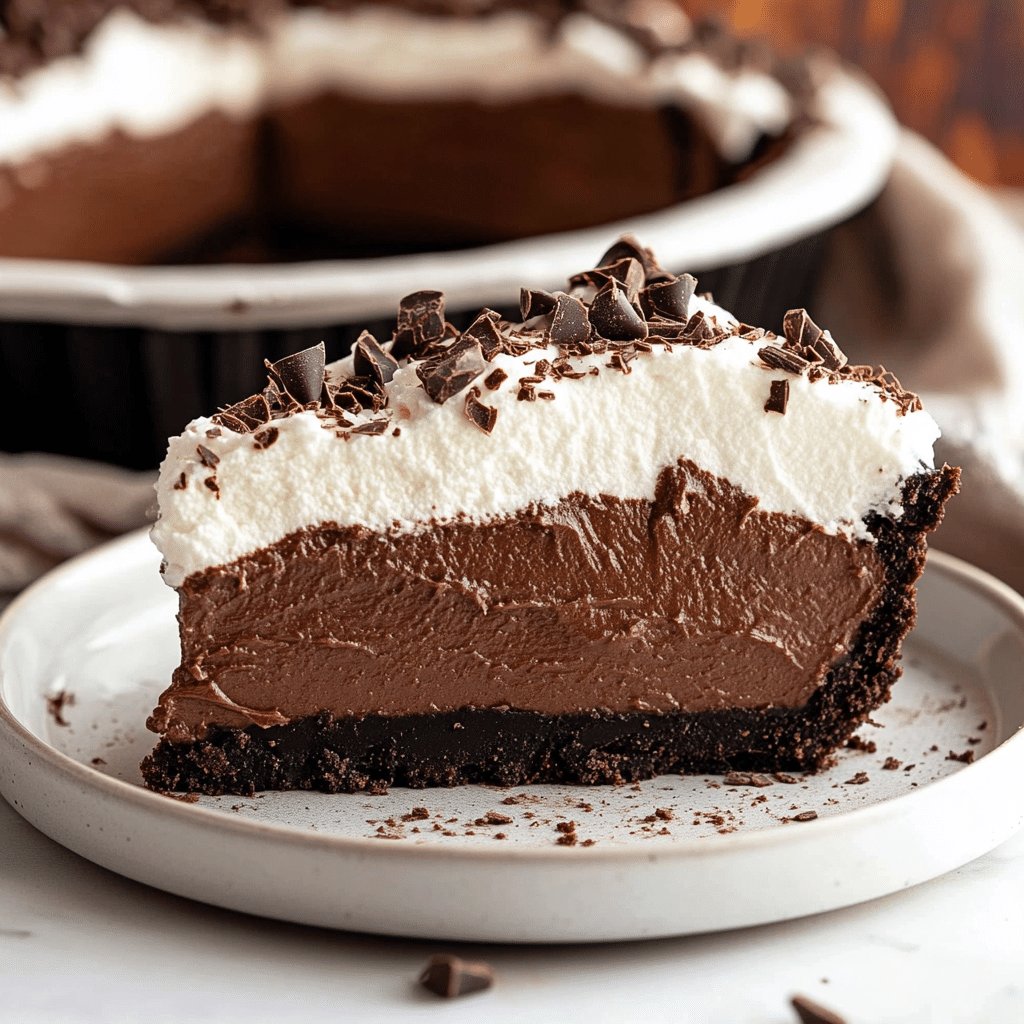
No bake chocolate pie is the ultimate answer to summer dessert cravings cool, creamy, and impossibly easy. This no-oven-required treat has become a go-to in my UK kitchen, especially when the sun’s out and I’d rather be outside than baking. I’m Emma, a Canadian heart with a soft spot for fridge-set sweets, and this pie brings all the nostalgic charm of a classic chocolate dessert without the oven drama. Whether you’re wrangling toddlers, hosting a last-minute gathering, or just craving a quiet moment with a fork, this no bake chocolate pie delivers rich flavor and zero stress.
Table of Contents
Why No Bake Chocolate Pie Works Like Magic
No oven, no stress why this is summer dessert perfection
Preparing a no bake chocolate pie lets you sidestep the oven completely. Instead of baking, the pie firms up in the fridge, giving you a rich, silky filling that slices beautifully without ever needing your oven. It’s the perfect summer dessert chilled, velvety, and effortlessly satisfying. The filling, often a luscious mix of melted chocolate, cream, and just a hint of butter, sets up beautifully after a few hours in the fridge. Some versions call for cornstarch or cream cheese to help it hold its shape, but many rely solely on the magic of chocolate and chilling. The texture is rich and silky, with a truffle-like melt-in-your-mouth quality.
The heartwarming comfort of a fridge-set pie
What makes no bake chocolate pie so nostalgic isn’t just the ease it’s the way it feels familiar. It’s the kind of dessert your aunt might have brought to Sunday supper or one you’d find at the end of a long picnic table, beads of condensation forming on the pie tin. And best of all, it’s incredibly forgiving. Forgot to pre-bake a crust? No problem. Ran out of one ingredient? Substitutions are easy (and we’ll get into that in Part 2). These kinds of recipes are made for real life busy, a little messy, and full of flavor.
Print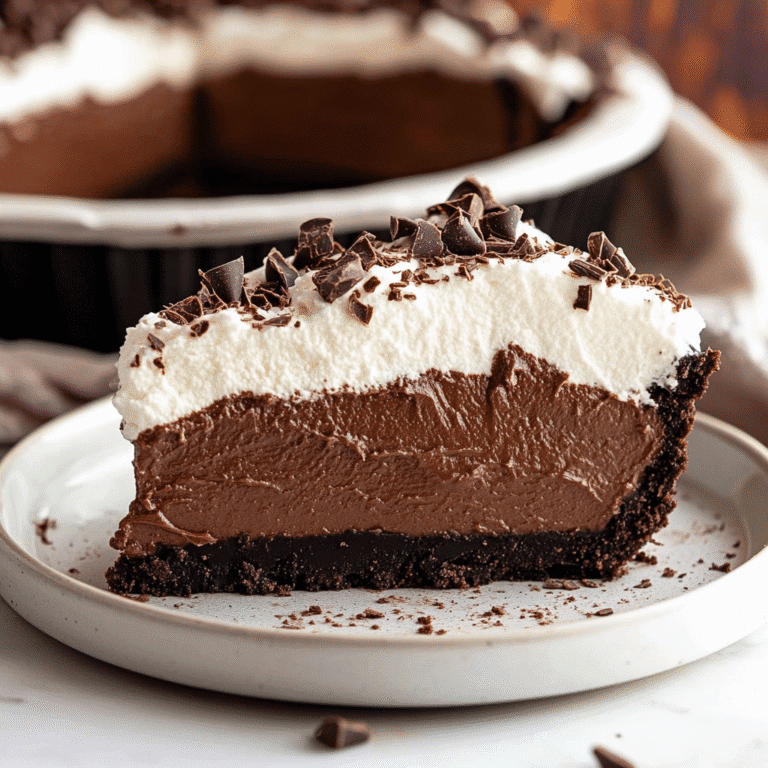
No Bake Chocolate Pie – Silky Fridge‑Set Delight for Summer Cravings
Silky fridge-set no bake chocolate pie with a crunchy crust no oven needed!
- Total Time: 4 hours 15 minutes
- Yield: 8 servings
Ingredients
1 ½ cups graham cracker crumbs
5 tablespoons unsalted butter, melted
1 cup heavy cream
8 ounces semisweet or dark chocolate, chopped
1 teaspoon vanilla extract
Pinch of fine salt
Instructions
1. Combine graham crumbs and melted butter, press into a 9-inch pie dish. Chill crust 10 minutes.
2. Heat heavy cream until steaming, pour over chopped chocolate. Let sit 2 minutes, then whisk until smooth.
3. Stir in vanilla and salt. Let cool slightly, pour into chilled crust, smooth top, then refrigerate for at least 4 hours or overnight.
4. Before serving, top with whipped cream and dark chocolate shavings if desired.
Notes
For best results, chill overnight. Use quality chocolate for the richest flavor. To cut clean slices, run a sharp knife under hot water and wipe dry between cuts.
- Prep Time: 15 minutes
- Cook Time: 0 minutes
- Category: Dessert
- Method: No Bake
- Cuisine: American
Building the Best No Bake Chocolate Pie From Crust to Cream
Choosing your crust: classic, crumbly, or creative
The crust sets the stage for any no bake chocolate pie, and thankfully, you’ve got options. A classic graham cracker crust is the most traditional crushed crackers mixed with melted butter and a touch of sugar, then pressed into a pie dish. It sets fast in the fridge and adds just the right sweet crunch to contrast the smooth filling.
Prefer something richer? Try an Oreo crust: just chocolate cookies blended into fine crumbs and combined with butter. You can even use a store-bought pie crust if time’s tight. Just make sure it’s sturdy enough to hold the chilled filling. If you’re in a pinch or want something a little different, pretzel crust adds a subtle saltiness that pairs beautifully with the deep chocolate flavor.
Perfecting the filling: tips for smooth, sliceable chocolate
For that luscious filling, quality chocolate is key. Use a mix of semisweet and dark for depth, or stick with semisweet if you prefer something milder. Melt it slowly with heavy cream this forms the ganache base. A splash of vanilla and a pinch of salt bring out the chocolate’s richness.
Some recipes call for cream cheese or even whipped topping to lighten things up, but for a true ganache-style filling, just chocolate and cream do the job. The trick is in the cooling: pour the mixture into your prepared crust and give it time at least 4 hours, ideally overnight. This slow chill allows the filling to firm up into that perfect, sliceable consistency. Want to dress it up? Top it with a cloud of whipped cream or scatter dark chocolate shavings for a simple, elegant finish.

Chilling, Slicing, and Serving No Bake Chocolate Pie
Fridge time matters: how long to chill and why it counts
The most overlooked step in making a no bake chocolate pie? Giving it enough time to chill. This pie isn’t just refrigerated to cool it needs hours to firm up fully so it holds its shape when sliced. At a minimum, let it rest for 4 hours, though overnight is even better. That extended chill lets the chocolate ganache set into a thick, truffle-like texture. If you rush it, you risk a too-soft center that oozes instead of slicing clean.
For extra stability especially if you’ve added whipped topping or cream cheese place it on the coldest shelf in your fridge and avoid peeking. Want to make it ahead? No problem. This pie keeps beautifully for up to 3 days chilled.
Clean slices, every time: how to cut a no bake chocolate pie
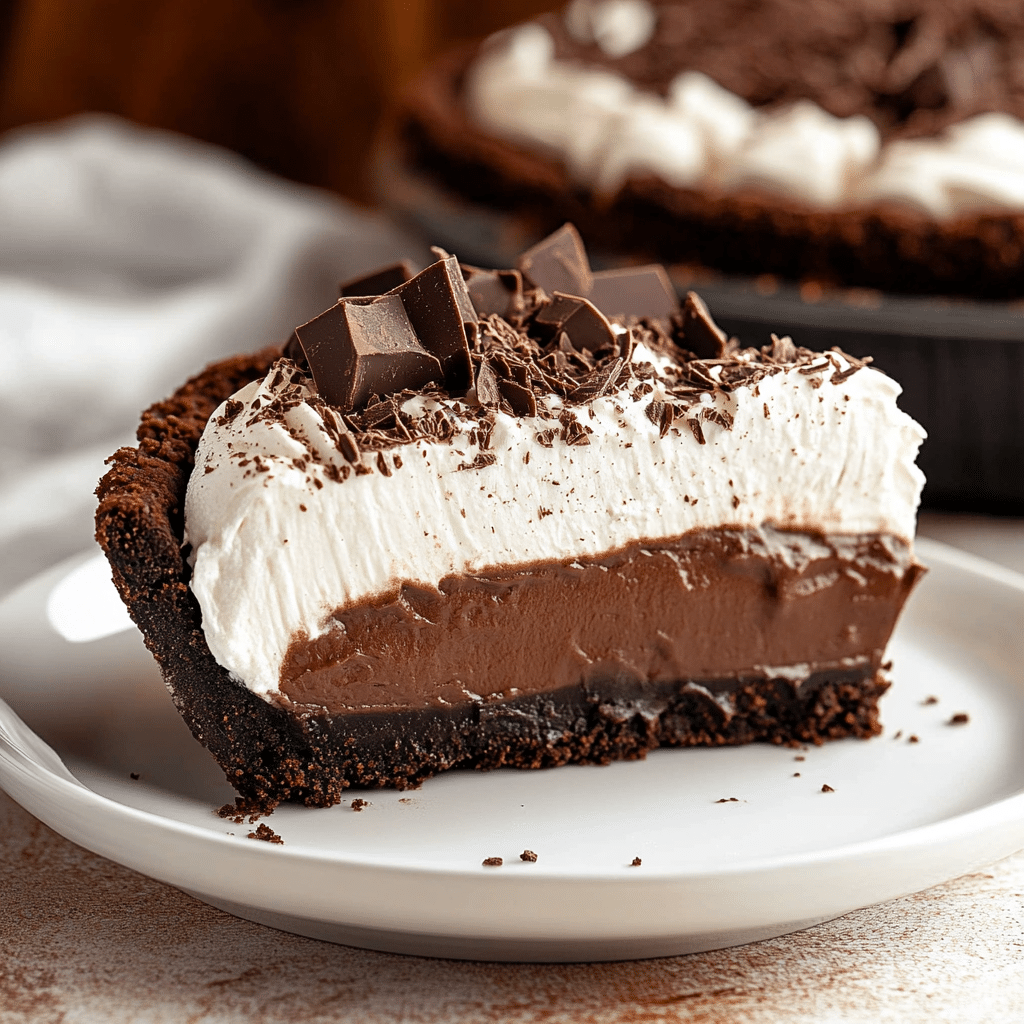
There’s something so satisfying about lifting out that first clean slice of pie. But to get it right, a little prep helps. First, use a sharp, thin knife not a serrated one. Run it under hot water, then dry it before each cut. This melts the chocolate just slightly as you slice, helping the knife glide through smoothly. Wipe the blade between cuts to avoid dragging crumbs or filling into the next piece.
Serving directly from the fridge also makes a big difference cold pie slices neater than room temp. Want bonus points? Chill your plates for a few minutes before serving so each bite stays cool longer. Whether it’s a weeknight treat or part of your holiday dessert table, serving no bake chocolate pie the right way turns something simple into something special.
Solving Common No Bake Chocolate Pie Problems
Why your no bake chocolate pie won’t set and how to fix it
If your no bake chocolate pie turns out soft or soupy, don’t panic it’s usually a quick fix. The most common reason is not chilling it long enough. This pie should chill for a minimum of 4 hours, though letting it rest overnight gives the firmest, cleanest slice. Using too much cream or not enough chocolate can also throw off the ratio.
Stick with reliable ratios about 1 cup of heavy cream to 8 ounces of semisweet or dark chocolate creates a filling that’s rich and easy to slice. If you’re mixing in extras like whipped topping or cream cheese, make sure everything is blended smoothly and well-chilled before pouring. Another tip? Let the ganache cool slightly before pouring it into the crust this helps it set evenly.
Make it your own: easy twists on the classic
The beauty of a no bake chocolate pie is how easily it adapts to whatever you have on hand. Want a mocha version? Stir a little instant espresso powder into the melted chocolate. Craving something lighter? Fold in whipped cream for a mousse-like texture. You can layer it with crushed cookies or caramel sauce, or even spike it with a splash of bourbon for grown-up flavor.
Toppings are just as flexible crushed nuts, a sprinkle of sea salt, fresh berries, or even a drizzle of peanut butter all bring something new to the table. If you’re feeding a crowd, mini pies in jars make great individual servings. However you spin it, this pie remains reliable, chilled, and always welcome at the table.
Conclusion
No bake chocolate pie is more than just an easy dessert it’s a sweet little victory on a busy day. It lets you keep things simple without sacrificing richness or flavor, and it’s endlessly adaptable for different moods, seasons, or what’s in your pantry. Whether you’re hosting, celebrating, or just craving something cool and chocolaty, this fridge-set pie has your back. Want more effortless dessert wins? Visit the no-bake treats and quick chocolate fix sections on RecipebyEmma.
For Mor Recipes Follow Me In pinterest And medium
FAQs
Can I use a store-bought pie crust?
Absolutely. Store-bought crusts like graham, chocolate cookie, or shortbread varieties are great time-savers and work perfectly with no bake chocolate pie. Just be sure to choose one with a sturdy base that holds up under a creamy filling. If the crust looks too thin, let it chill longer before adding the filling to help it firm up.
How long does it take for this to set in the fridge?
Plan for at least 4 hours of chill time, though overnight gives the best results. That extra time allows the chocolate filling to firm up fully, giving you those clean, photo-worthy slices. If you’re adding toppings like whipped cream, wait until just before serving to keep everything fresh.
How to cut a pie?
For neat slices, use a sharp knife and run it under hot water before each cut then dry it off and slice. Wipe the blade between cuts to keep things tidy. A cold pie cuts more easily, so serve straight from the fridge for best results.
Why won’t my chocolate pie set?
Most often, it’s due to not enough chilling time or using the wrong ingredient ratio. Make sure you’ve used enough chocolate to cream, and always let the pie rest in the fridge long enough at least 4 hours, ideally overnight. Other culprits can be warm add-ins or overmixing light ingredients like whipped cream, which can weaken the structure.

